How to Making a CocoaPod
这里我们先只讨论创建公开的 Pod,因为我还没有需求使用私用 Pod。
这里使用 GitHub 来托管代码库
0x00 准备工作
如果想要创建一个 Pod,说明你的库的代码也敲的差不多了,可以发布出来让其他人使用了。
如果还没有一个对应的 GitHub repo,就先创建一个,然后你可以:
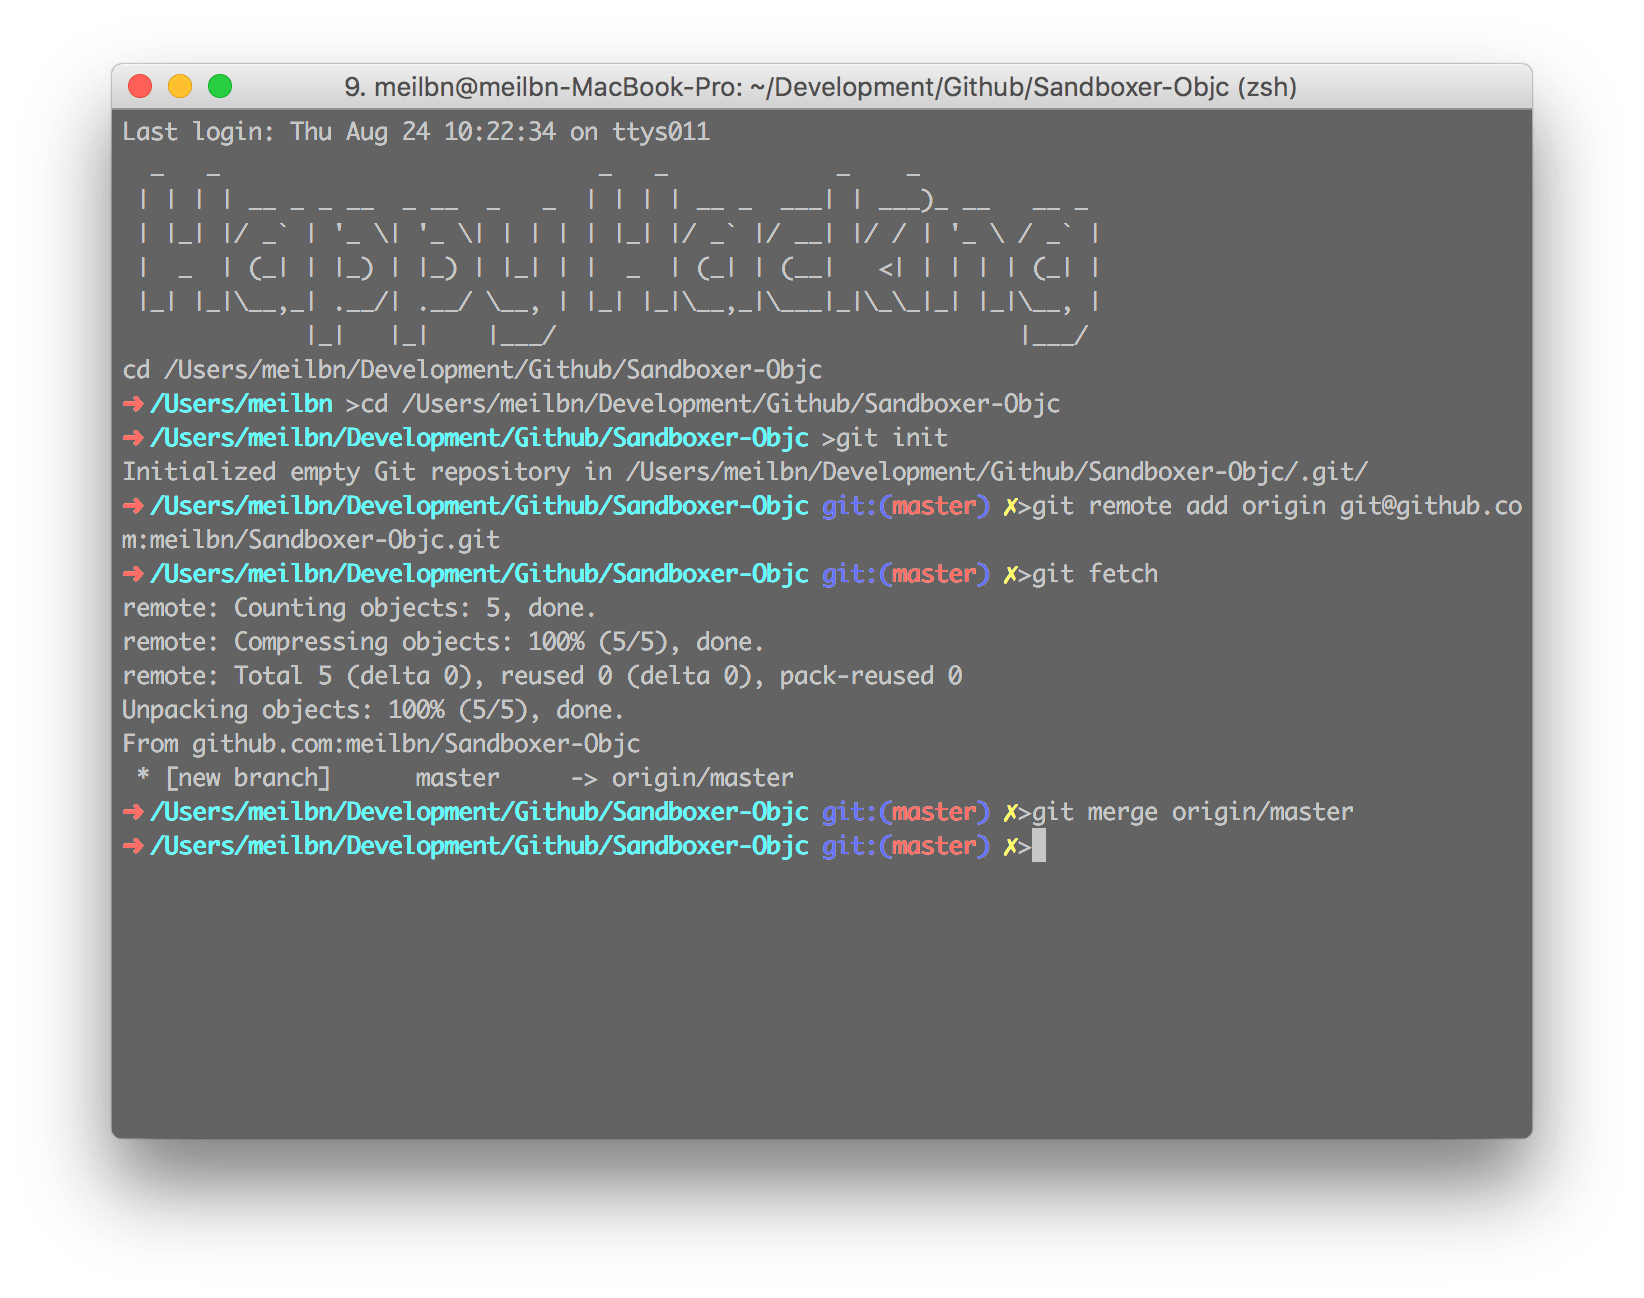
git clone到本地,然后把代码拖进去- 在原来的项目的目录下,添加一个 remote,如果原来的项目不是一个 Git 仓库,则先 init,然后添加 remote,具体步骤如下:
0x01 创建和编辑 podspec
每个 Pod 都对应一个 podspec 文件,描述 Pod 的信息及依赖。
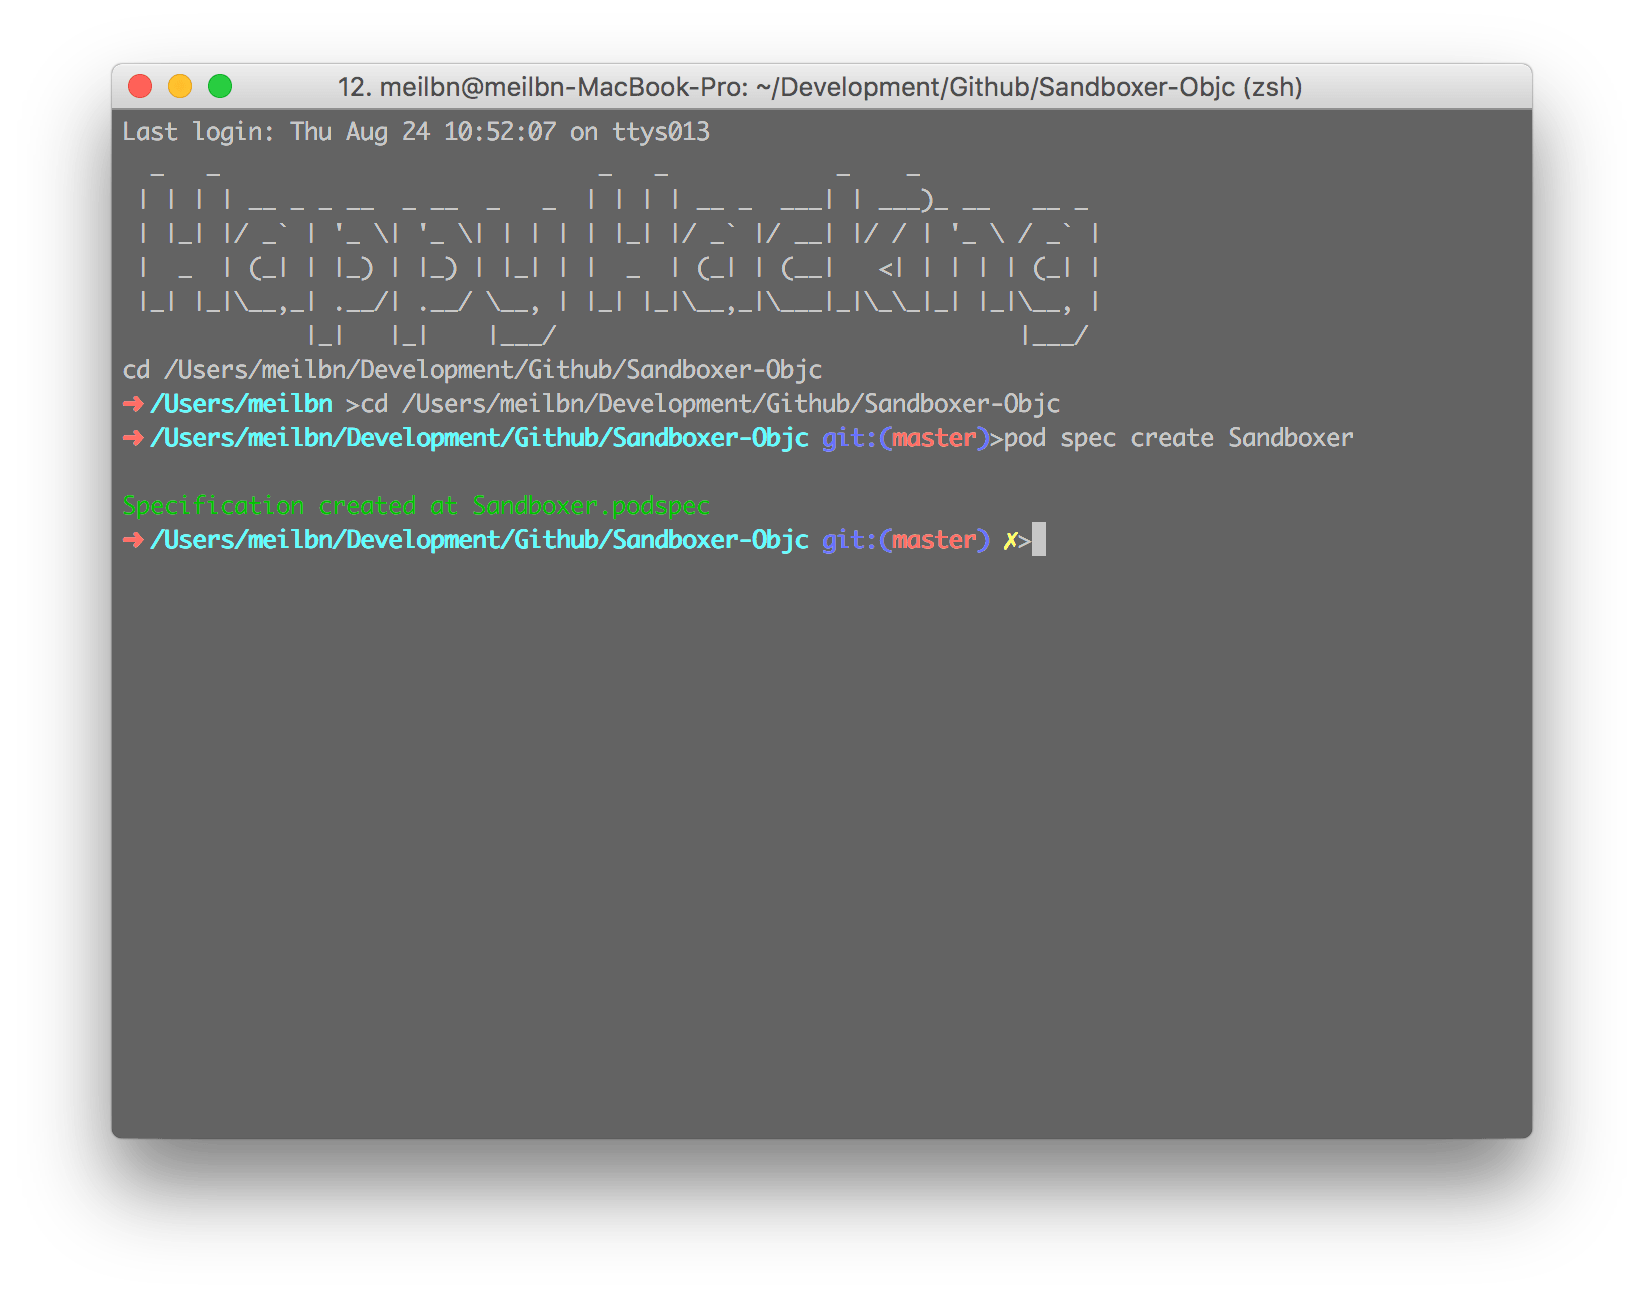
使用命令 pod spec create 来创建 podspec:
然后编辑 podspec 文件,里面的说明都非常详细,这里就放一下我自己这个项目的 podspec 了:
1 | Pod::Spec.new do |s| |
0x02 Push 到 GitHub
编辑完 podspec 文件,就可以将项目的文件都提交到 GitHub 了:
1 | git push origin master |
还可以打上 tag:
1 | $ git tag -a 1.0.0 -m "v1.0.0" |
然后 GitHub 上的仓库就能看到刚刚上传的代码了。
0x03 验证 Pod
既然代码都上传到 GitHub 了,接下来就是验证 Pod 了。
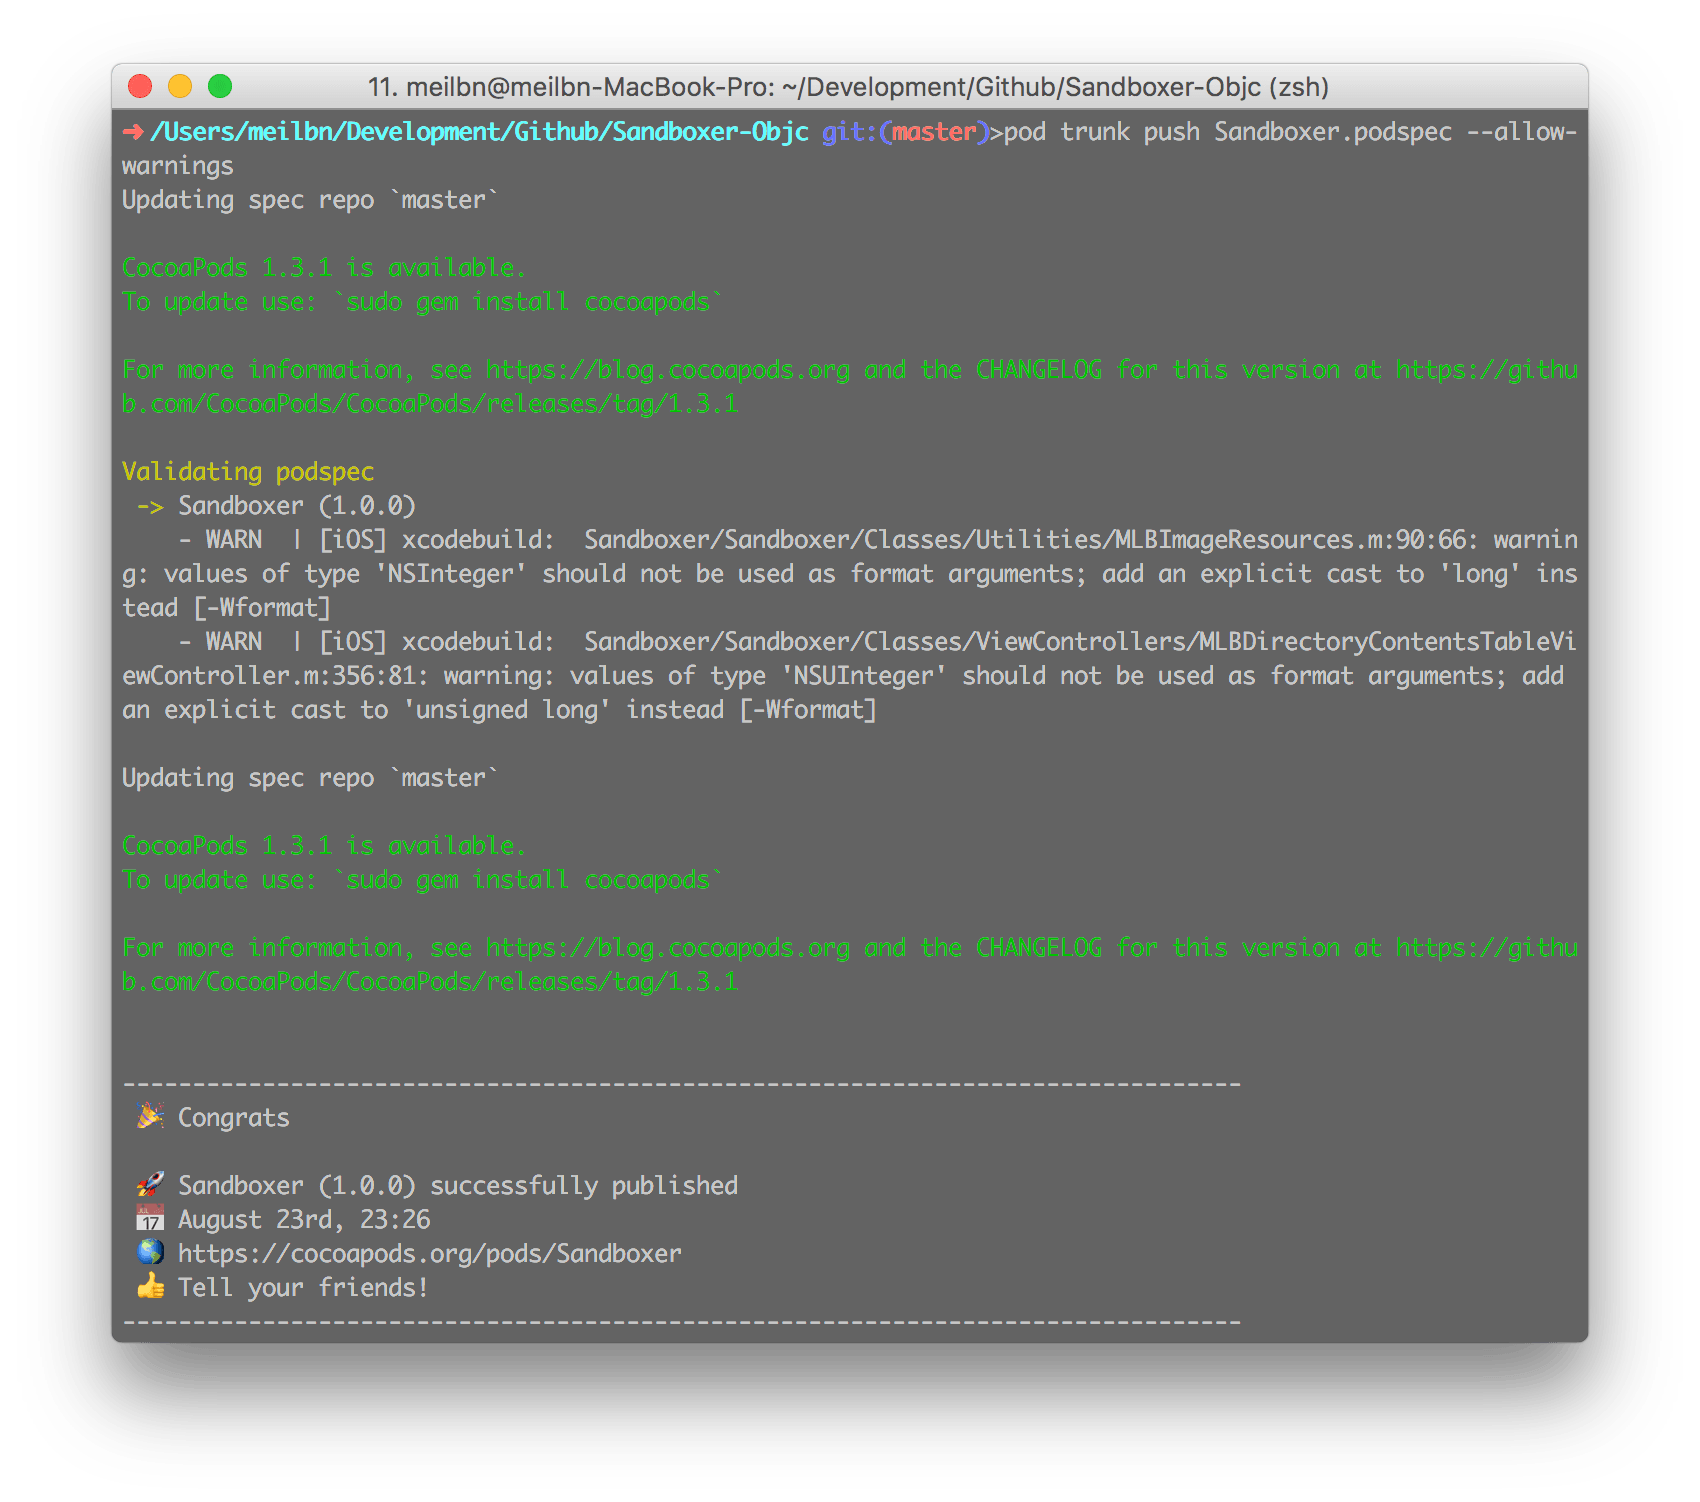
使用命令 pod spec lint Sandboxer.podspec 来验证,但是有一个问题是,如果你的代码有警告的话,验证就会失败,如果你想忽略这些警告,可以加上 --allow-warnings 来忽略这些警告:
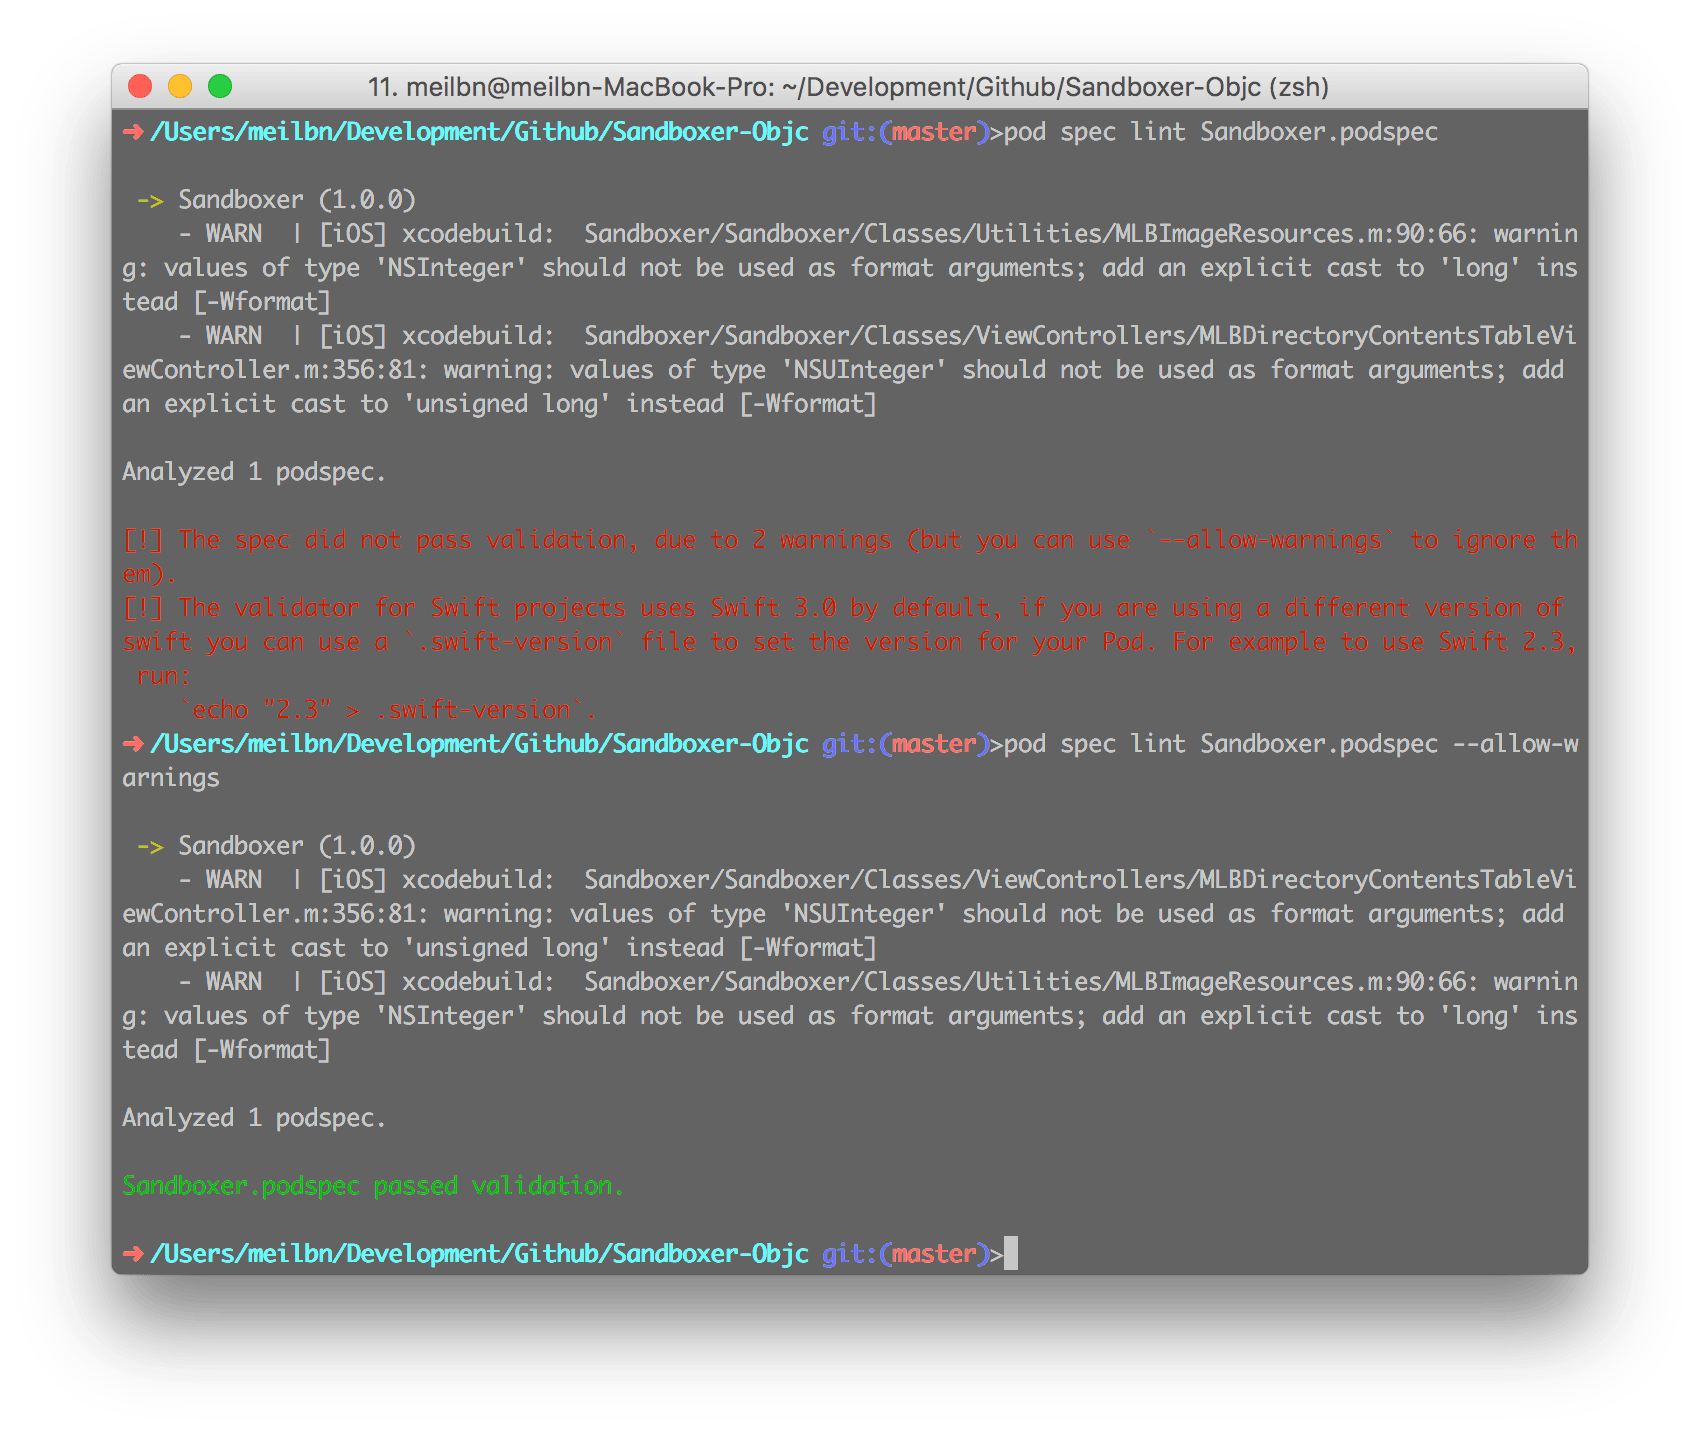
这样,就说明 Pod 验证成功了
0x04 上传 Pod 到 CocoaPods
既然 Pod 验证成功了,最后一步就是将它上传到 CocoaPods,自己能用,别人也能用了。
如果是第一次上传 Pod,则需要注册一下(可能需要翻下墙),已有的请略过。
注册
1 | pod trunk register your_email 'your_name' --description='macbook air' |
如果想要查看该命令执行的一些详细信息,可以加上 --verbose。
完成之后需要到填写的邮箱里面验证一下,才能继续下面的操作。
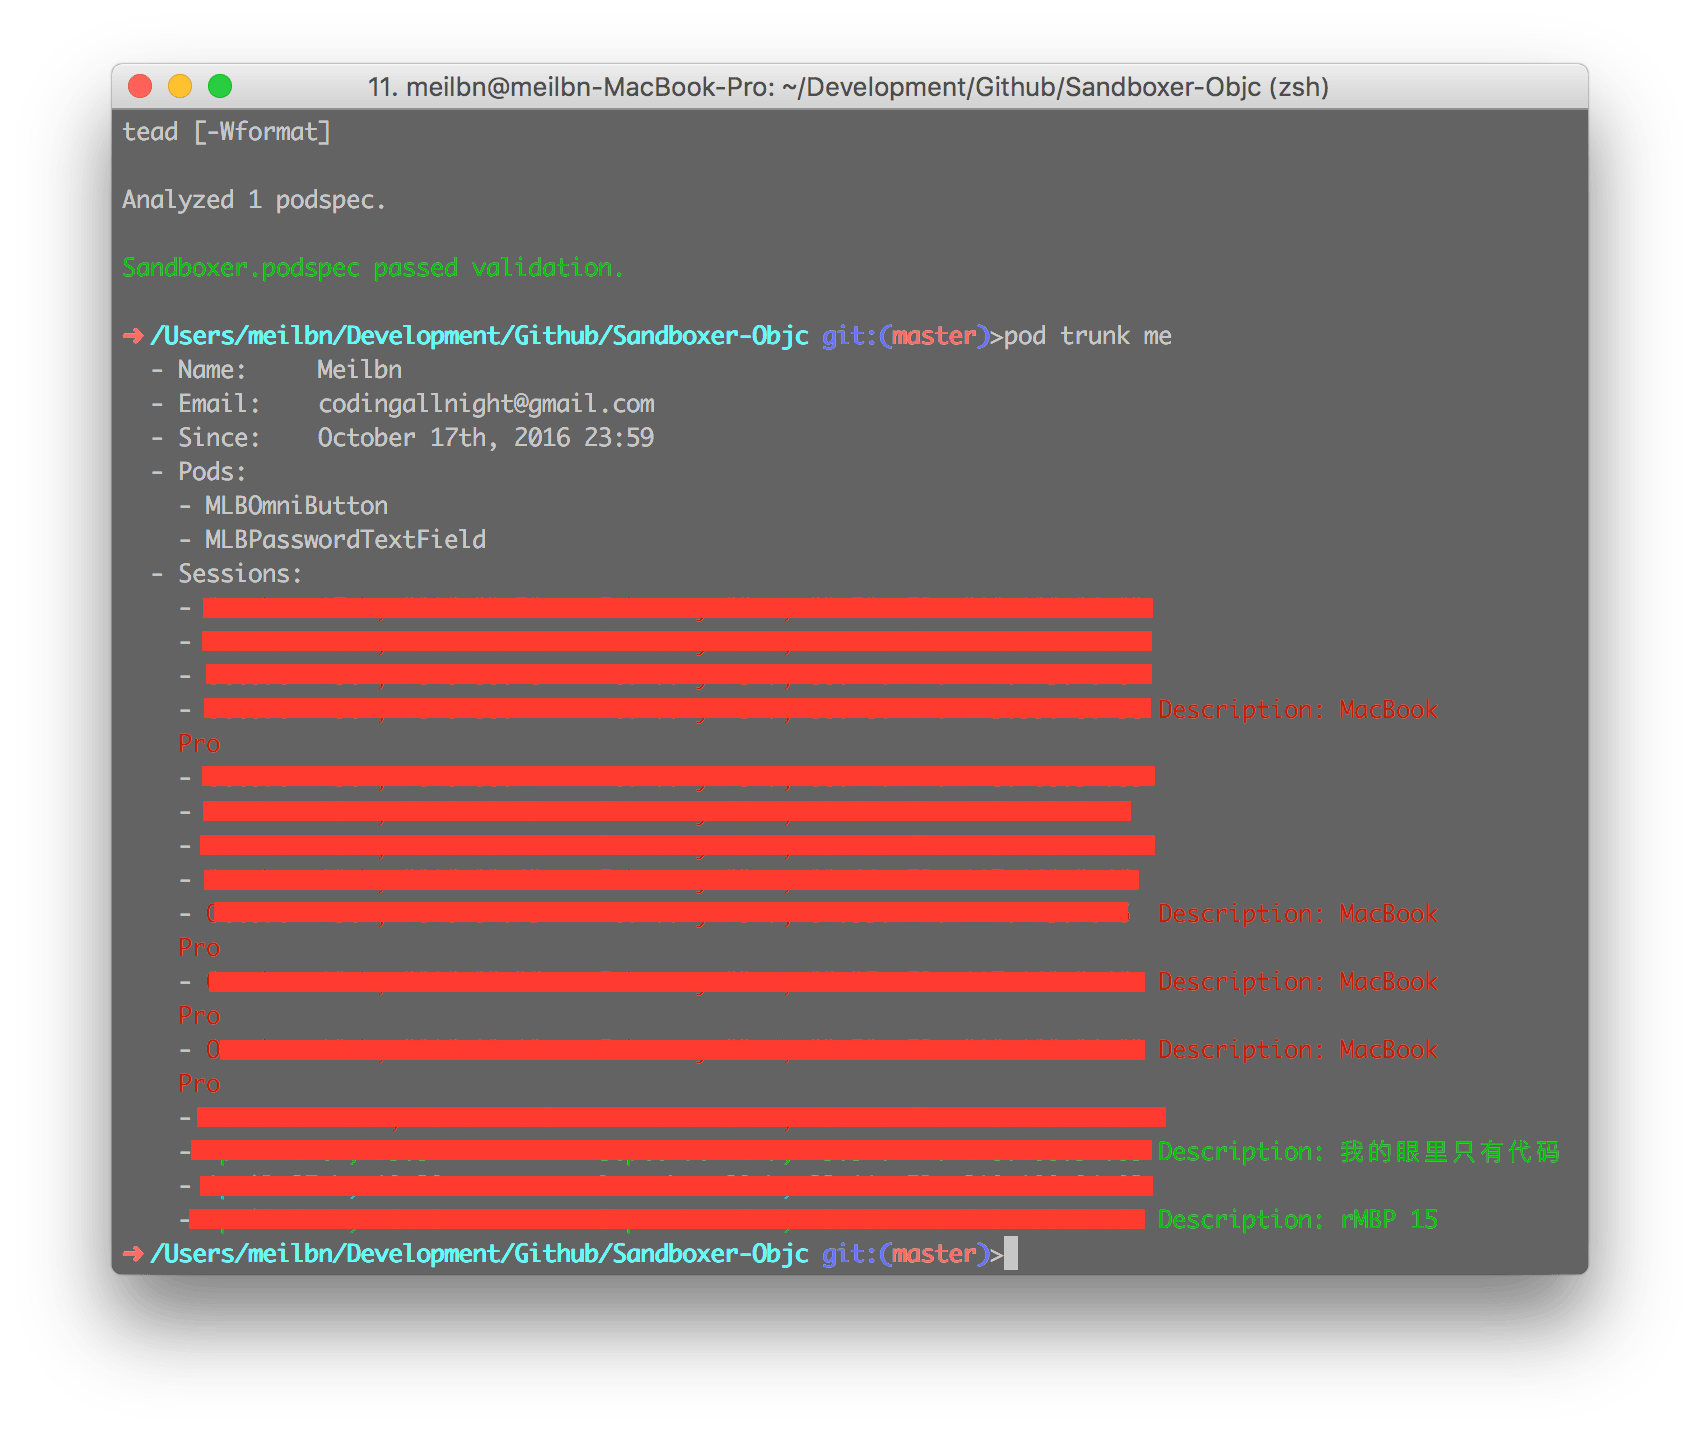
注册成功以后,可以使用命令 pod trunk me 来查看自己的信息,发布过哪些 Pod,还有登录记录:
上传
终于到了上传这一步了,命令如下(如果之前验证加过忽略警告的,还是需要再加上):
1 | pod trunk push Sandboxer.podspec --allow-warnings |
这条命令会:
- 验证本地的 Podspec,就如上面的验证步骤
- 上传 podspec 到 Trunk 或者你的私有 specs 仓库
- Trunk 会发布一个代表你的 podspec 的 JSON 文件
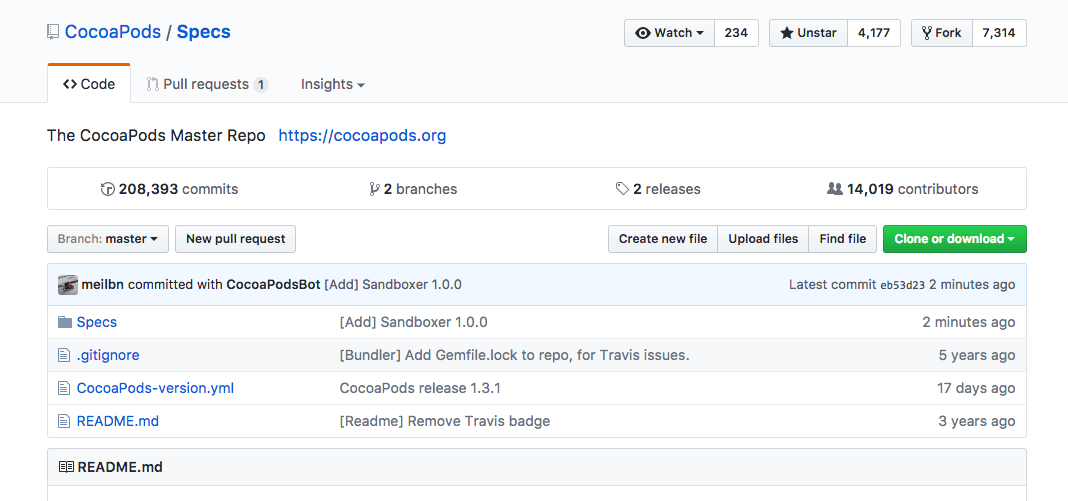
成功了之后,CocoaPods 的 Specs repo 也会有上传操作:
如果这条命令顺利执行完的话,就没什么问题了,Pod 就发布成功了。然后就可以通过命令 pod search Sandboxer 来看看是否能够找到(如果找不到,需要更新一下本地的 specs,最简单的就是在一个已有 Podfile 的项目上运行命令:pod update)。
0x05 关于 Pod 里面添加了资源文件 Bundle 之后找不到 Bundle 的问题
在测试自己的 Pod 的时候,发现图标和国际化文字都出不来,发现使用 [[NSBundle mainBundle] pathForResource:@"SandboxerResources" ofType:@"bundle"] 获取的 path 是 nil 的,就找了下原因,在 CocoaPods 0.36 以前,Pod 资源最后都会被直接拷贝到 client target 的 [NSBundle mainBundle] 里。你可以用访问 mainBundle 里资源的方式访问它们。比如用 + (UIImage *)imageNamed:(NSString *)name 来访问 Pod 的图片。
但是在 CocoaPods 0.36 之后,这件事情发生了一些变化。由于 iOS 8 Dynamic Frameworks 特性的引入,CocoaPods 能帮你打包 framework 了。0.36 版的 release note 很详细地说明了加入 framework 特性所带来的变化。一个显著区别就是当你的 Pod 库以 framework 形式被使用时,你的资源不是被拷贝到 mainBundle 下,而是被放到 Pod 的最终产物 —— framework 里。此时,你必须保证自己在访问这个 framework 的 bundle,而不是 client target 的。
1 | [NSBundle bundleForClass:<#ClassFromPodspec#>] |
上面这段代码可以返回某个 class 对应的 bundle 对象。具体的,
- 如果你的 Pod 以 framework 形式被链接,那么返回这个 framework 的 bundle。
- 如果以静态库(.a)的形式被链接,那么返回 client target 的 bundle,即 mainBundle。
所以我就将获取 Bundle 的方法改成了:
1 | static NSBundle *bundle = nil; |
这样,bundle 就可以正确获取了。